Recycle small old expanded Polystyrene foam insulation coolers I get monthly with a medication. Our city has no program that accepts EPS, and so I looked into some experiments with it, and in the process come up with an “Easy” technique to Recycle EPS (Expanded Polystyrene Foam) not only reducing its size but also making it into something usable/useful (I’m calling it “Maker Goop” for now). In a relatively safe and health conscious way.
“Maker Goop” Can be handy for making small plastic parts, castings, or just to make the EPS a flowable product for makers, or for Recyclers which could have the solvents extracted and reused commercially, or burned (as is done in the EU for power. It does emit co2 and water vapor and not much else.)
Below are some notes on my experiments found on Degasifying the EPS (EPS is 90-99% empty space and 1%-10% Polystyrene). First steps were to isolate a way to turn it from foam into a liquid to both save space and make it useable. This is also the first step in commercial recycling too. But at this point, I’m experimenting on the small scale for home/hobby reuse.
And I really look forward to seeing what people do with their own nearly freeMaker Goop!
Materials needed:
- A bucket with a lid, I started with a 5 gallon eventually moved to a 2 gallon for but any kind with a tight-fitting lid will do.
- D-limonene (this is an essential oil extracted from orange peels) you only need a few ounces per LB of EPS. so a little goes a long way, although more solvent melts the foam faster, then you have more solvent to remove later.
- EPS (Expanded Polystyrene) foam. you can use just about any ‘styrofoam‘ except the starch peanuts. the color of your end product may depend on the grade and color of your starting foam.
- A junkable spoon or spatula.
- A muffin tins, or shallow silicone drying pans.
- Molds (steel or silicone).
- Toaster oven, or possibly even an old EZ bake oven or dehydrator may work (only needs about 200F-250F, possible to do this with an oven or other heat sources), not very smelly, but I use a toaster oven on a back porch.
- Some spare cookie sheets or even some waxed paper or whatnot to leave things to finish curing on.
‘Melting’ the EPS:
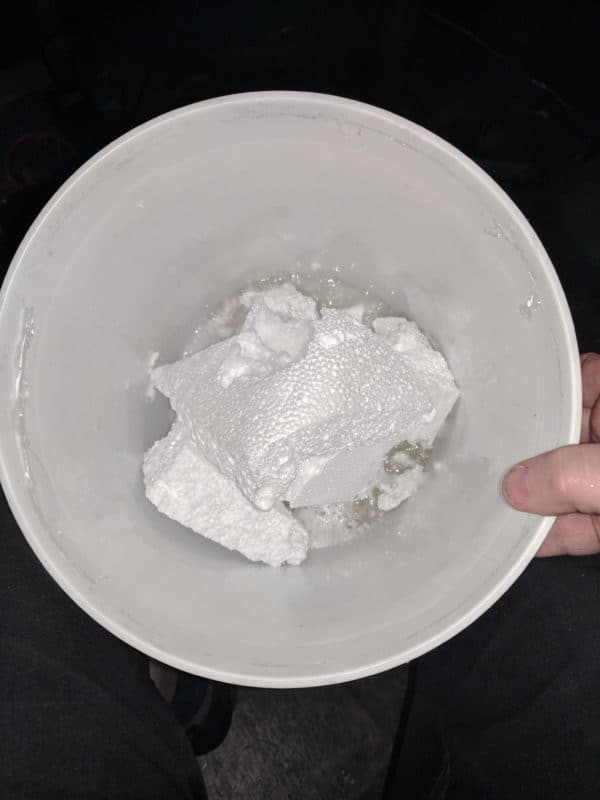
Starts with breaking it up into chunks that you can put into your bucket, and then simply adding a few ounces of D-limonene solvent to the bucket.
Then, start feeding EPS into it and let it dissolve in the process the gasses in the foam will bubble out. At that point, the Polystyrene will turn into a runny goo when it touches the solvent. You can keep stirring it in to speed things up, or you can just toss it in and snap the lid on and wait for it to all melt. EPS floats, so it will only touch the solvent on the bottom, ideally, you want to use as little solvent as needed to get the job done, I usually added about 20 cc’s of limonene per 4 cubic feet or so of EPS.
In the long run, I think I plan to go back to the 5-gallon bucket and just keep adding EPS and solvent and pulling out liquified polystyrene/solvent from time to time rather than doing batches emptying the whole bucket as I did during a lot of my experiments. If everyone just did this step and digested down all the packing styrofoam they get we could save a bunch of landfill space.
Please note:
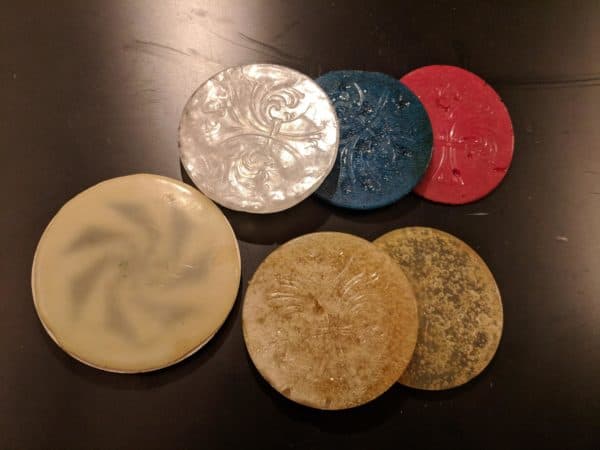
If you want to work with a colored end product, its pretty easy at this step to add some other #6 PS objects such as a Red Solo cup, or colored disposable plastic picnic plate or whatnot, it’s amazing how much dye is in some of those!
Once the air has all bubbled out of your solvent/EPS bucket, you should have a pretty clear goo (if using white polystyrene).
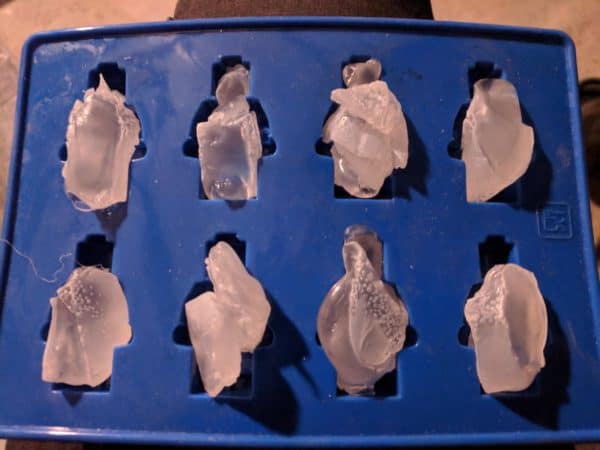
Next step is to spoon out some of it into some sort of wide flat drying dish. I started using a silicone “twinkie” baker mold to pour/spoon off 4 oz chunks of the sticky liquid and I then let it evaporate for a few weeks on my back porch shelf. This helps it thicken enough to be removable and handleable although after 2 weeks the solvent is enough to still feel squishy like a gummy bear, it can be de-molded from the drying pan and flipped over to allow for better drying.
The slow drying time is a disadvantage of the Limonene, but it is nontoxic, biodegradable, renewable, and pleasantly citrus scented, are a good trade-off for the slow thickening time.
Because of the slow drying time, it’s handy to do largeish batches, because once they are dried to this state, you can cut them up into smaller chunks or leave them for use.
Once you have some ingots of EPS and limonene that have dried enough to be thick gummy bear consistency, it’s easy to tear it apart or cut it with scissors for cutting it into bits to fill molds with. Steel molds you can add a little furniture wax or oil to the mold to keep it from sticking, Silicone molds need no release.
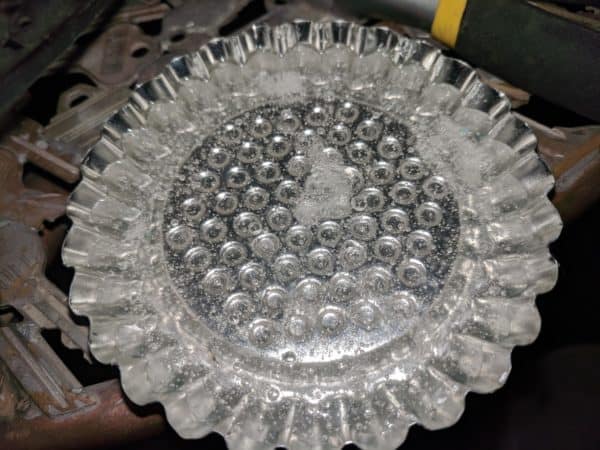
Cut off chunks and pile them on the things you want it to flow into, and then drop it in your toaster oven, set to 210F the solvent helps lower the melting point of the plastic down from the 250F-300F pure polystyrene, and bake it at 210F for about 30-45 min if there are any bubbles, you can gently pat the surface with a spatula or other poker to get them to pop (fewer bubbles in more thick/dry stock).
If the mold is overflowing you can pinch off some of the excesses and then toast some more it so that the rest runs down into the mold.
When done, remove them from the heat, depending on how flexible/solvent full the starting material is, you may be able to demold it right away once it cooled, but it may be squishy still. you can either leave it to try more, or you can freeze it mold and all and the parts will temporary harden and shrink a little making it easier to de-mold.
In the future I want to experiment more with casting LED’s into them, as well as adding magnets, trying out some plasticisers such as Butylated rubber particles to make it a more HIPS style plastic. I’m also wanting to try it out with a small desktop injection molding rig too.





Interesting
Hi! I’m just starting to toy with the idea of doing this myself. Have you had any luck with using pigments to die the “melted” styrofoam and if so, what did you use? I would imagine that MAYBE epoxy pigment might work, but I don’t know of anything that will bond with acetone? Any other tips would be awesome before I start. Thanks again for posting this!
How do you know what type of bucket to use that won’t also dissolve?