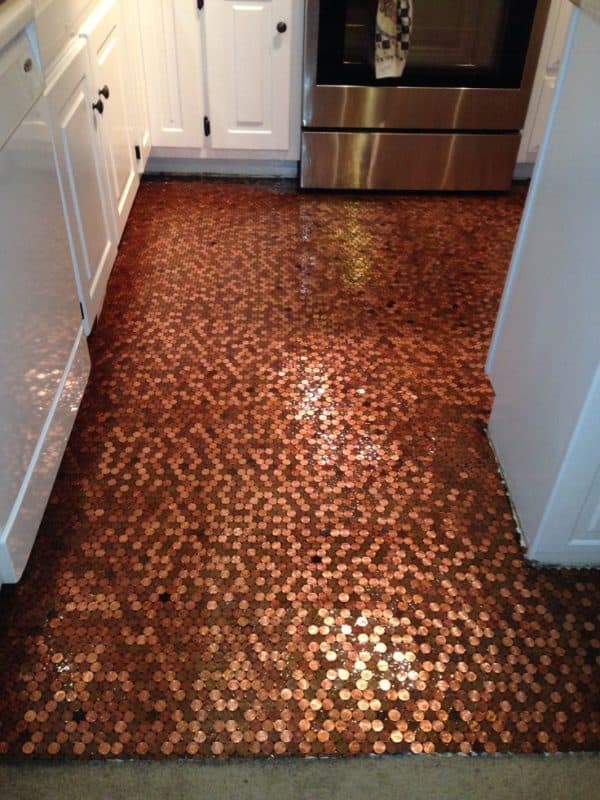
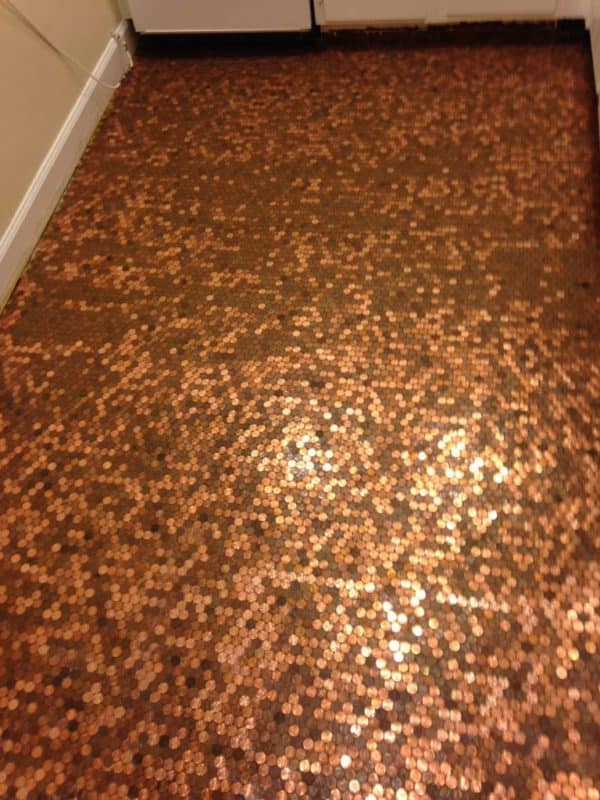
A DIY copper penny floor is one of the most creative uses for your spare change! This clever method creates a floor that’s unique, stylish and 100 percent recyclable – it’s a fantastic way to reinvent your kitchen or bathroom without a huge cost. To really create a floor that will shimmer and shine for years to come, you’ll need three things – a small TONNE of copper pennies, glue and a boatload of epoxy resin.
All you have to do to create these beautiful floors for yourself is to follow my easy step by step guide below. It takes a lot of patience and precision but the effect is truly something special.
Measure your room
Measure your floor space properly in square meters. It’s always a good idea to think about the size of the room that you’re going to work on. A smaller room definitely takes less time and will cost you less money to cover, this is something worth considering before starting the project! I’m so glad I did my small kitchen instead of my master bathroom!
Collect your pennies
Work out how many pennies you’re going to need. Lay the pennies that you’ve collected tightly together and then this will give you an idea of how many pennies you will need per square meter. Do not be surprised if it’s well over 10,000 copper coins! Get collecting! A top tip would be to get to the bank and ask them to convert the notes into coppers. This may take a couple of weeks depending on what the banks have available. I found going every Monday was the best day to visit to try my luck.
Prepare your floor
Get ready to glue. You’ll need your old floor to be clean, free of dust and debris and preferably already level. You should also be aware that the color of the existing floor will show through the tiny gaps between the pennies so if it isn’t your favorite, you might want to change the color. I just bought some plain lino from Lifestyle Flooring UK as my floor before was black.
Remove any furniture that will be in the way such as the fridge if you’re doing the kitchen. If possible, you can remove the skirting board to give a more professional feel to the floor. I removed mine and people always compliment me so I’m glad I took the time to do it! And in case you need help with your flooring for intensive work, concrete coating Houston TX is just a reliable contractor that you may call!
Glue your pennies
Get sticking. Use multipurpose glue to stick your coins to the floor. A really important tip is to not use too much glue because if the glue does not dry clear then it will show up through the epoxy resin. This is the most time-consuming part of the process but it’s also the part that will make the biggest difference to the overall look of the floor! If you put the effort in, make a game of it, invite friends over to help and lay the coins correctly, the floor will look perfect once finished. It will take about 24 hours to dry fully. Make sure that you give the coins enough time to adhere to the floor securely.
Laying the Epoxy
Choosing an epoxy resin that is UV resistant will prevent the yellowing of the resin over time. You need to follow the individual instructions for your specific brand of epoxy but my top tips for using this product are:
Make sure the room is above 23 degrees Celcius. This is especially important to make sure that the resin is at the right temperature to use.
Avoid creating air bubbles in your resin by stirring the mix very slowly. If you do create air bubbles, use a blowtorch to get rid of the bubbles.
Let it dry and enjoy!
After 72 hours your new floor should be dry and looking incredible! The only thing I’d say is don’t wear heels over it, don’t put anything heavy on it for about a week and then the floor should be perfect.





Love this.